

Orders
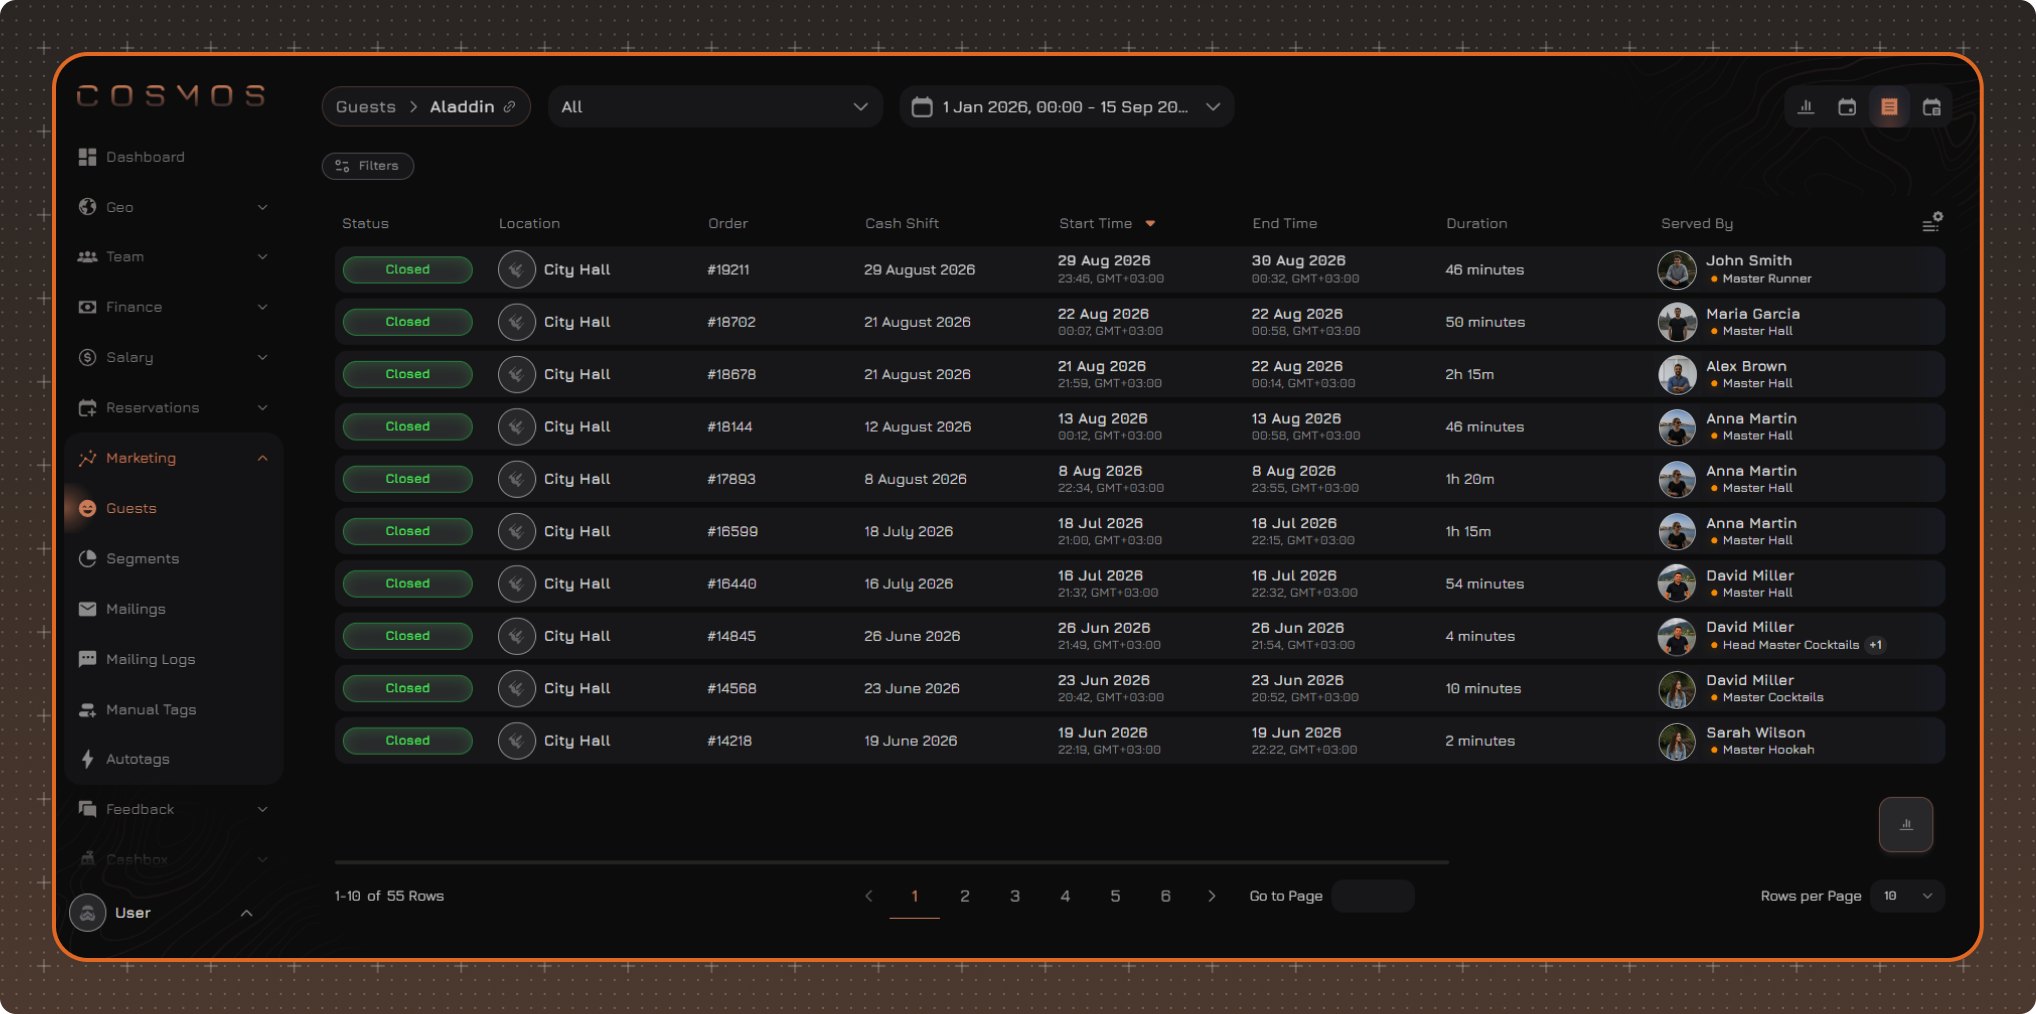
The Orders tab contains a list of all orders associated with the selected guest.
View an Order
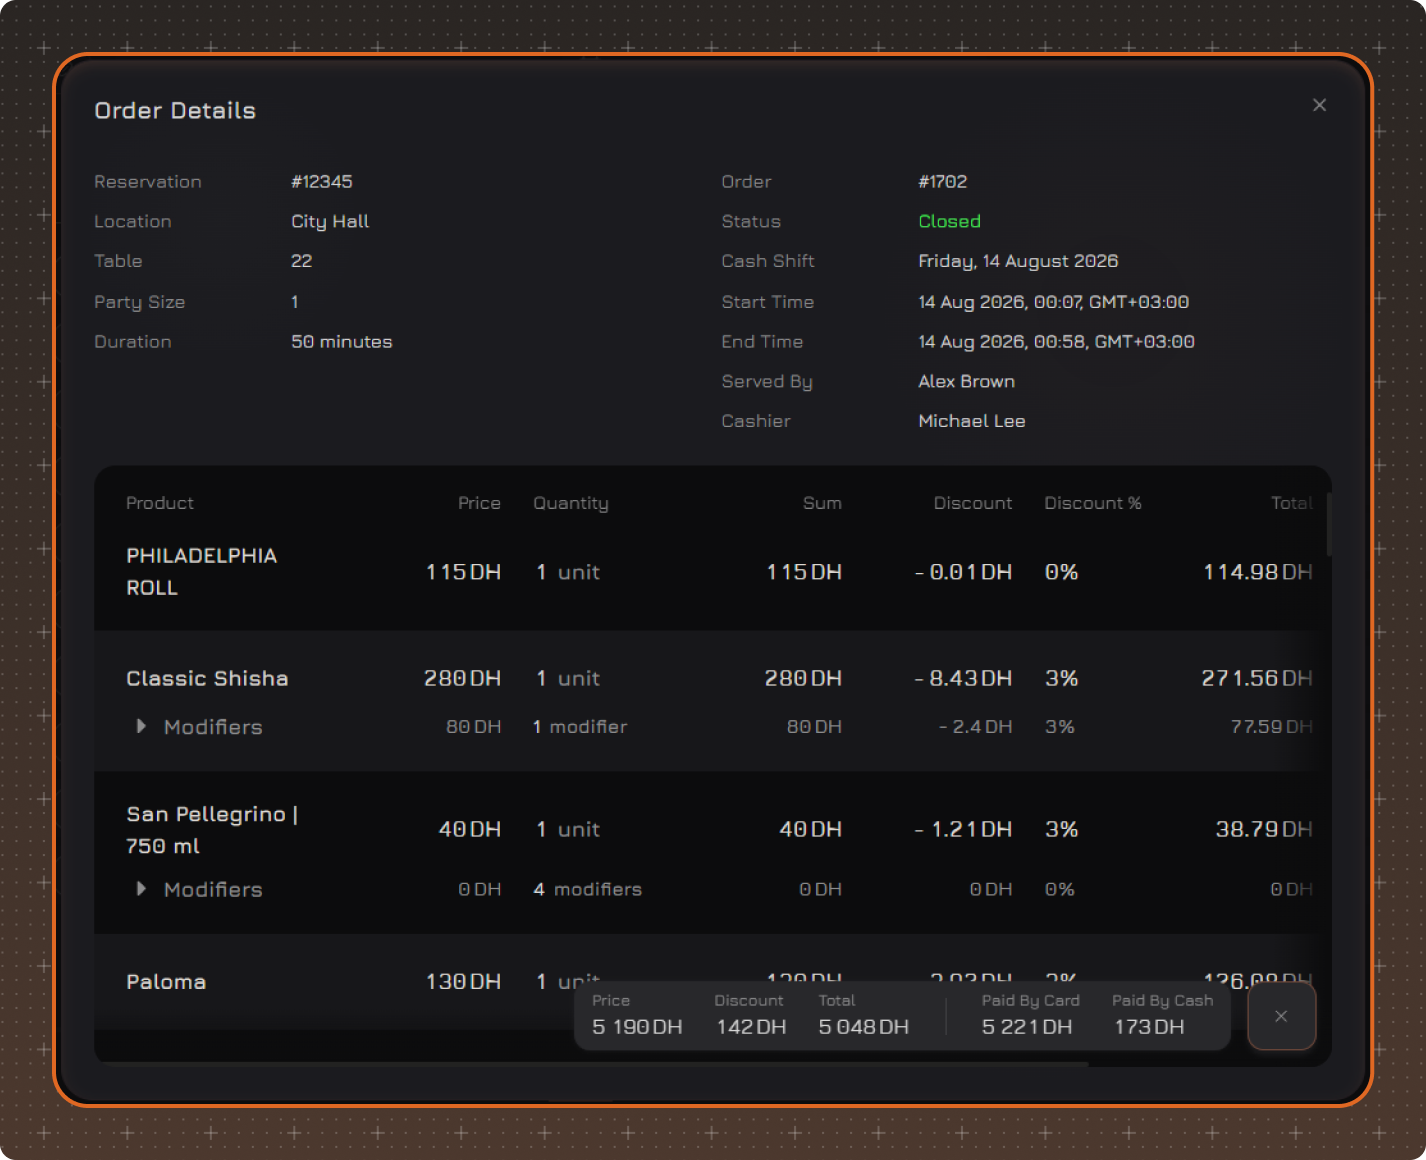
Click a row in the table.
A window with the order details will open, where you can view the items included in the order.
Summary
Click Summary at the bottom of the window.
Summary information about the total amount of orders matching the selected filters will be displayed.
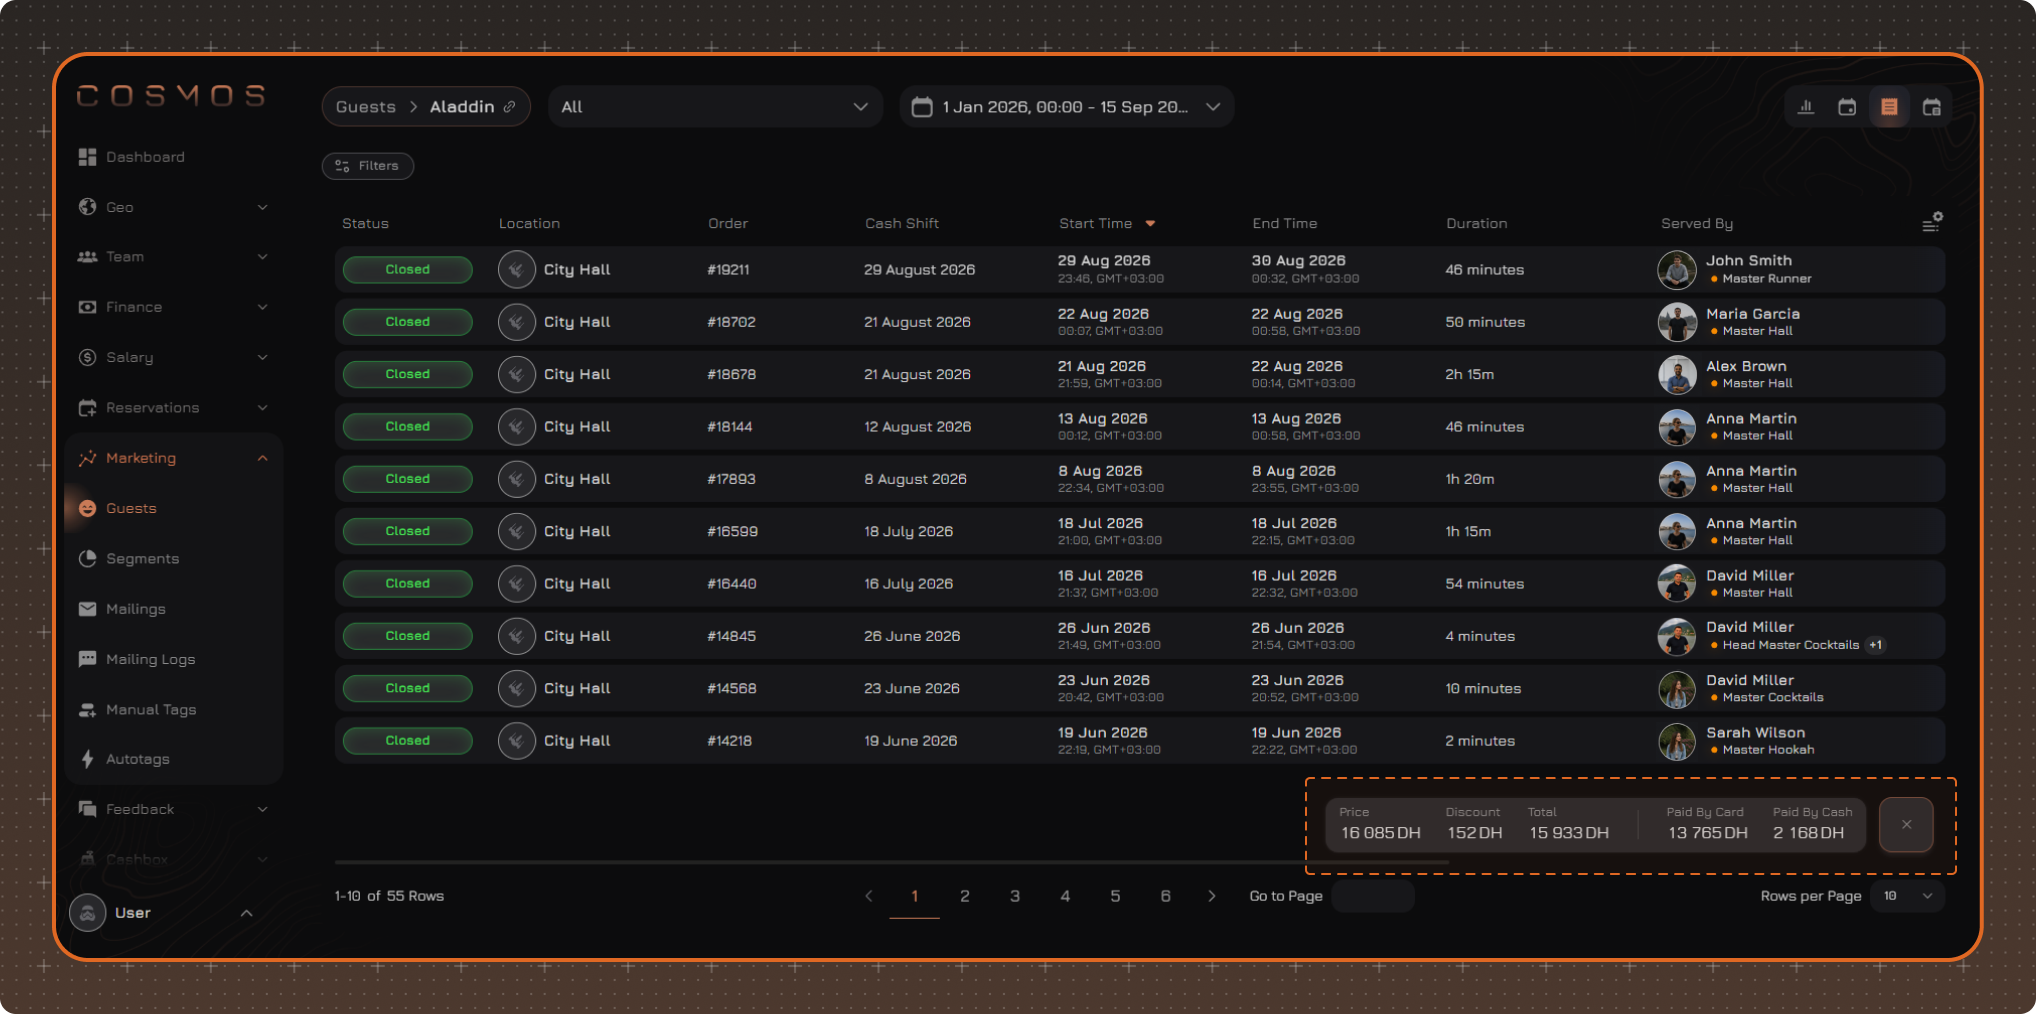
Note. The calculation includes all orders matching the selected filters.
Orders Table
The table displays information about the selected guest's orders.
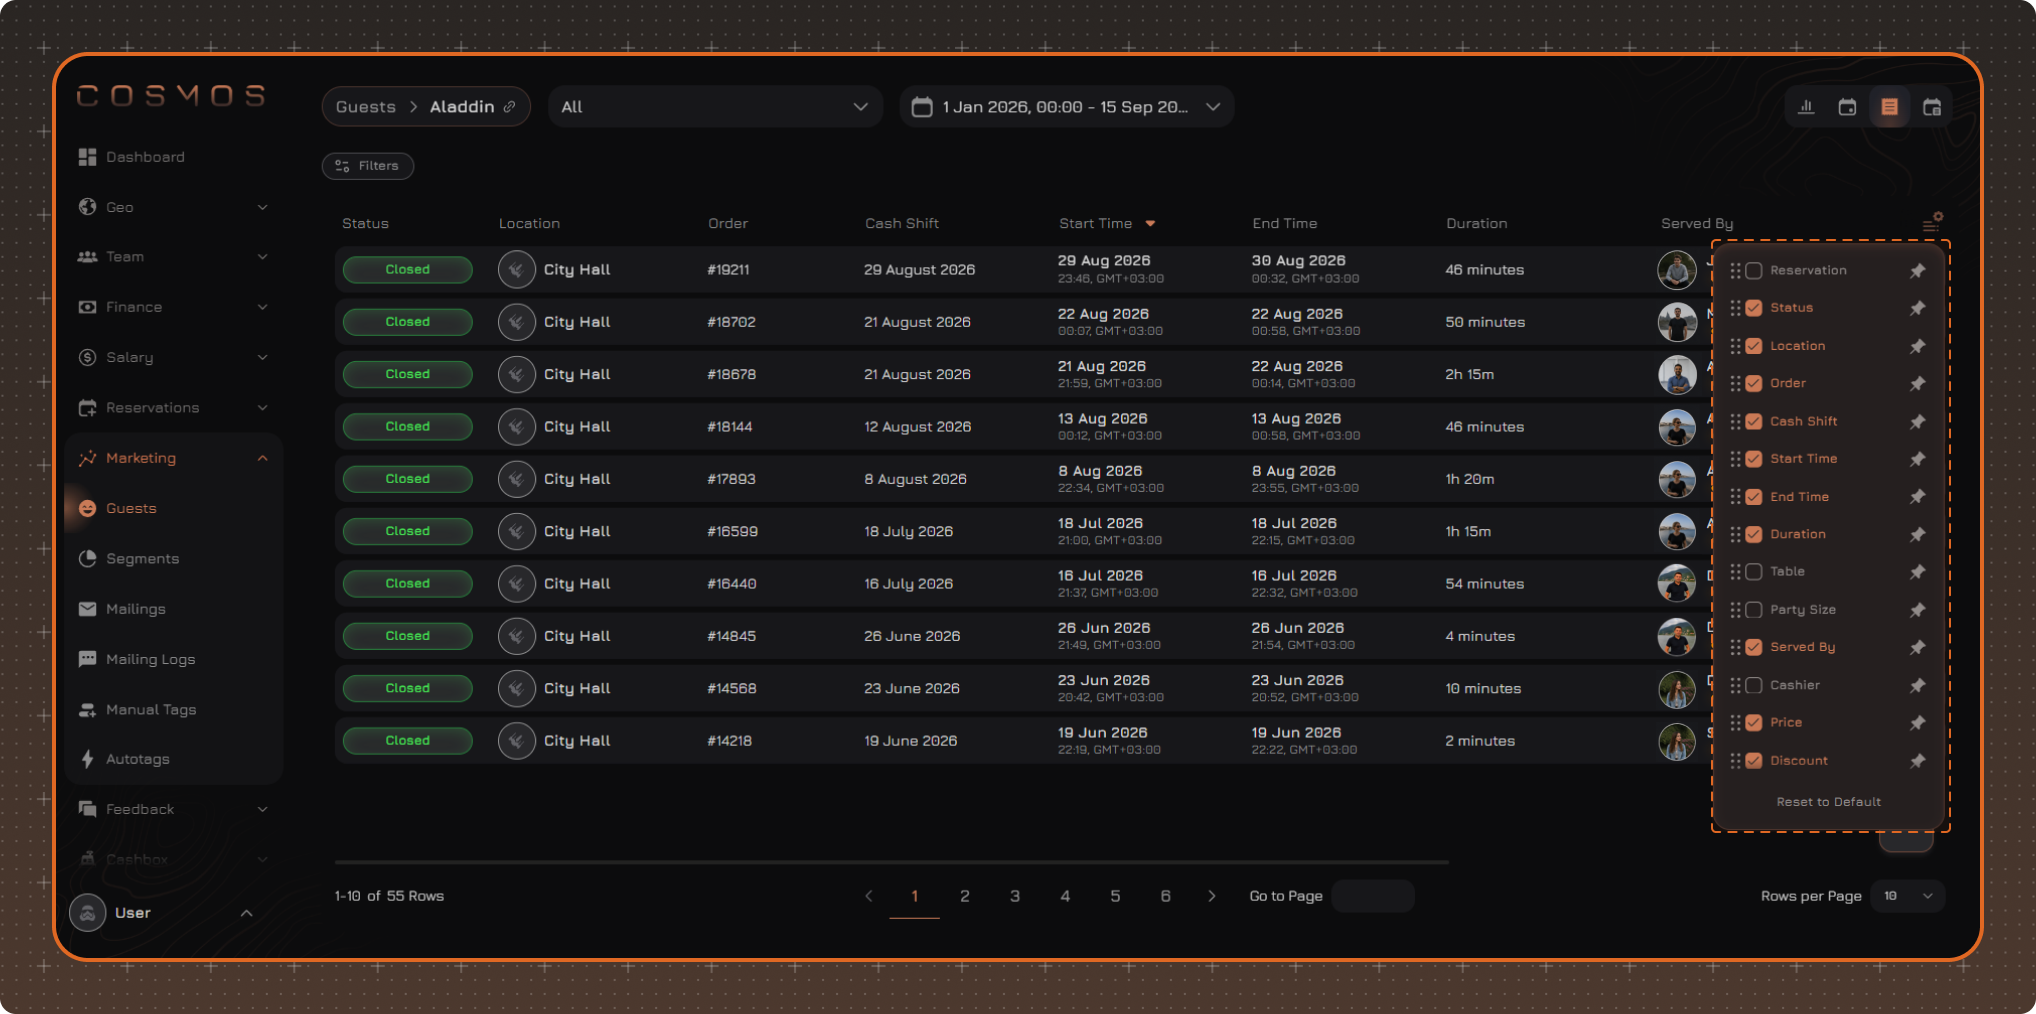
To change the displayed columns, click the table settings button in the upper-right corner.
In the panel that opens, you can:
✔ select the columns to display
✔ pin the required columns
✔ restore the default settings using Reset to Default
By default, the following columns are displayed in the table:
- Status — the current order status: Open, Closed, or Returned
- Cash Shift — the date of the cash shift in which the order was closed
- Location
- Order
- Start Time
- End Time
- Duration — the time between opening and closing the order. It is not calculated for open orders
- Served By — the employee who served the table, including their role and grade
- Price — the order amount before discounts
- Discount
- Discount %
- Total — the final amount to be paid
You can also enable the following columns. Their position in the table follows the column order in the table settings:
- Reservation — the reservation number associated with the order
- Table — the table number specified in the order
- Party Size — the number of guests specified in the order
- Cashier — the employee who closed the order, including their role and grade
Note. Table settings are saved after the page is refreshed and when switching between guest profiles. The settings are reset after you log out.
Data Filtering
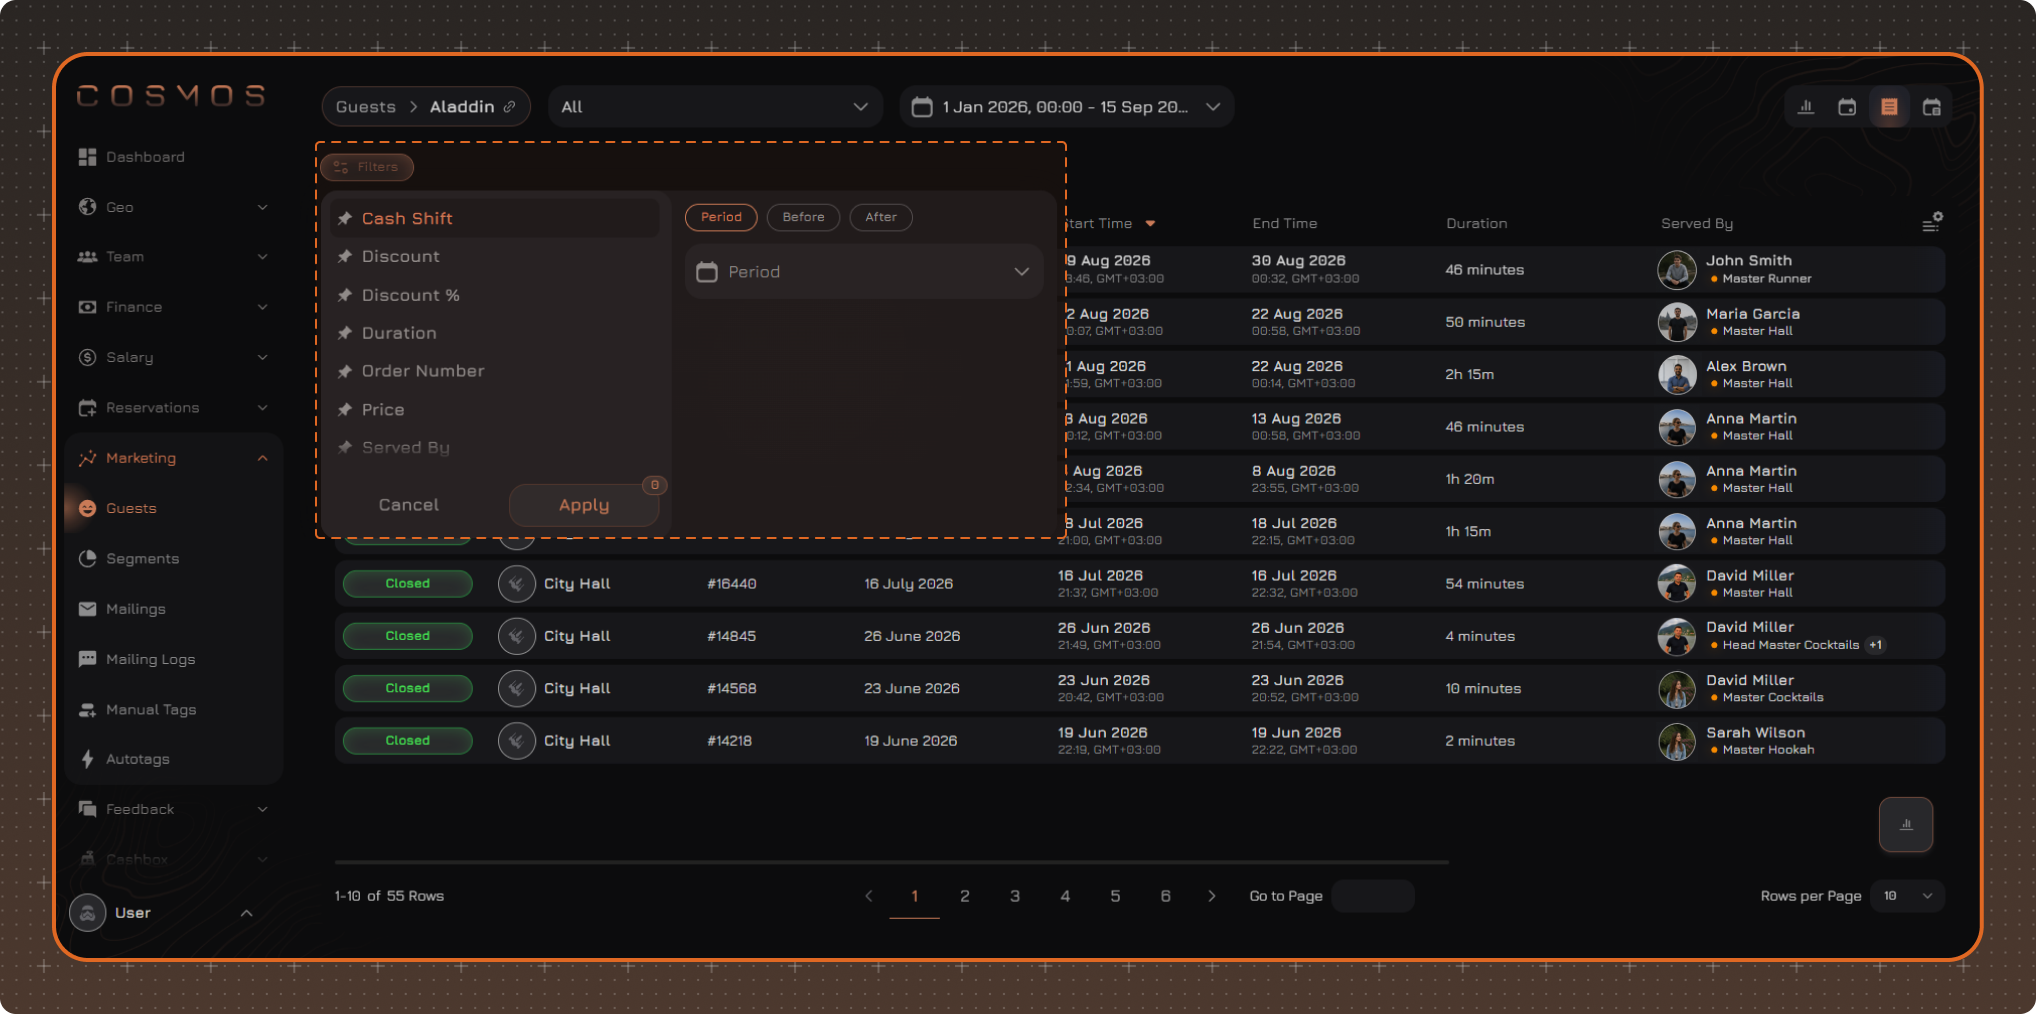
Select the required location from the list to display only orders associated with that location.
To change the displayed period, select the required date range.
If necessary, click Filters to set additional filtering conditions.
After selecting the required values, click Apply.
Applied filters are displayed above the table. To remove an individual filter, click × next to its name. To reset all filters, click Clear Filters.
Note. Selected filters are saved after the page is refreshed and when switching between guest profiles. The filters are reset after you log out.