

Create and Configure
To create a widget:
- Click Create in the upper right corner of the widget list.
- Fill in the fields in blocks 1–4 and select the form settings you need.
- Click Save.
After saving, the Embed Code button appears in the upper right corner of the page — it opens the code for adding the widget to a website. See Adding to a Website for details.
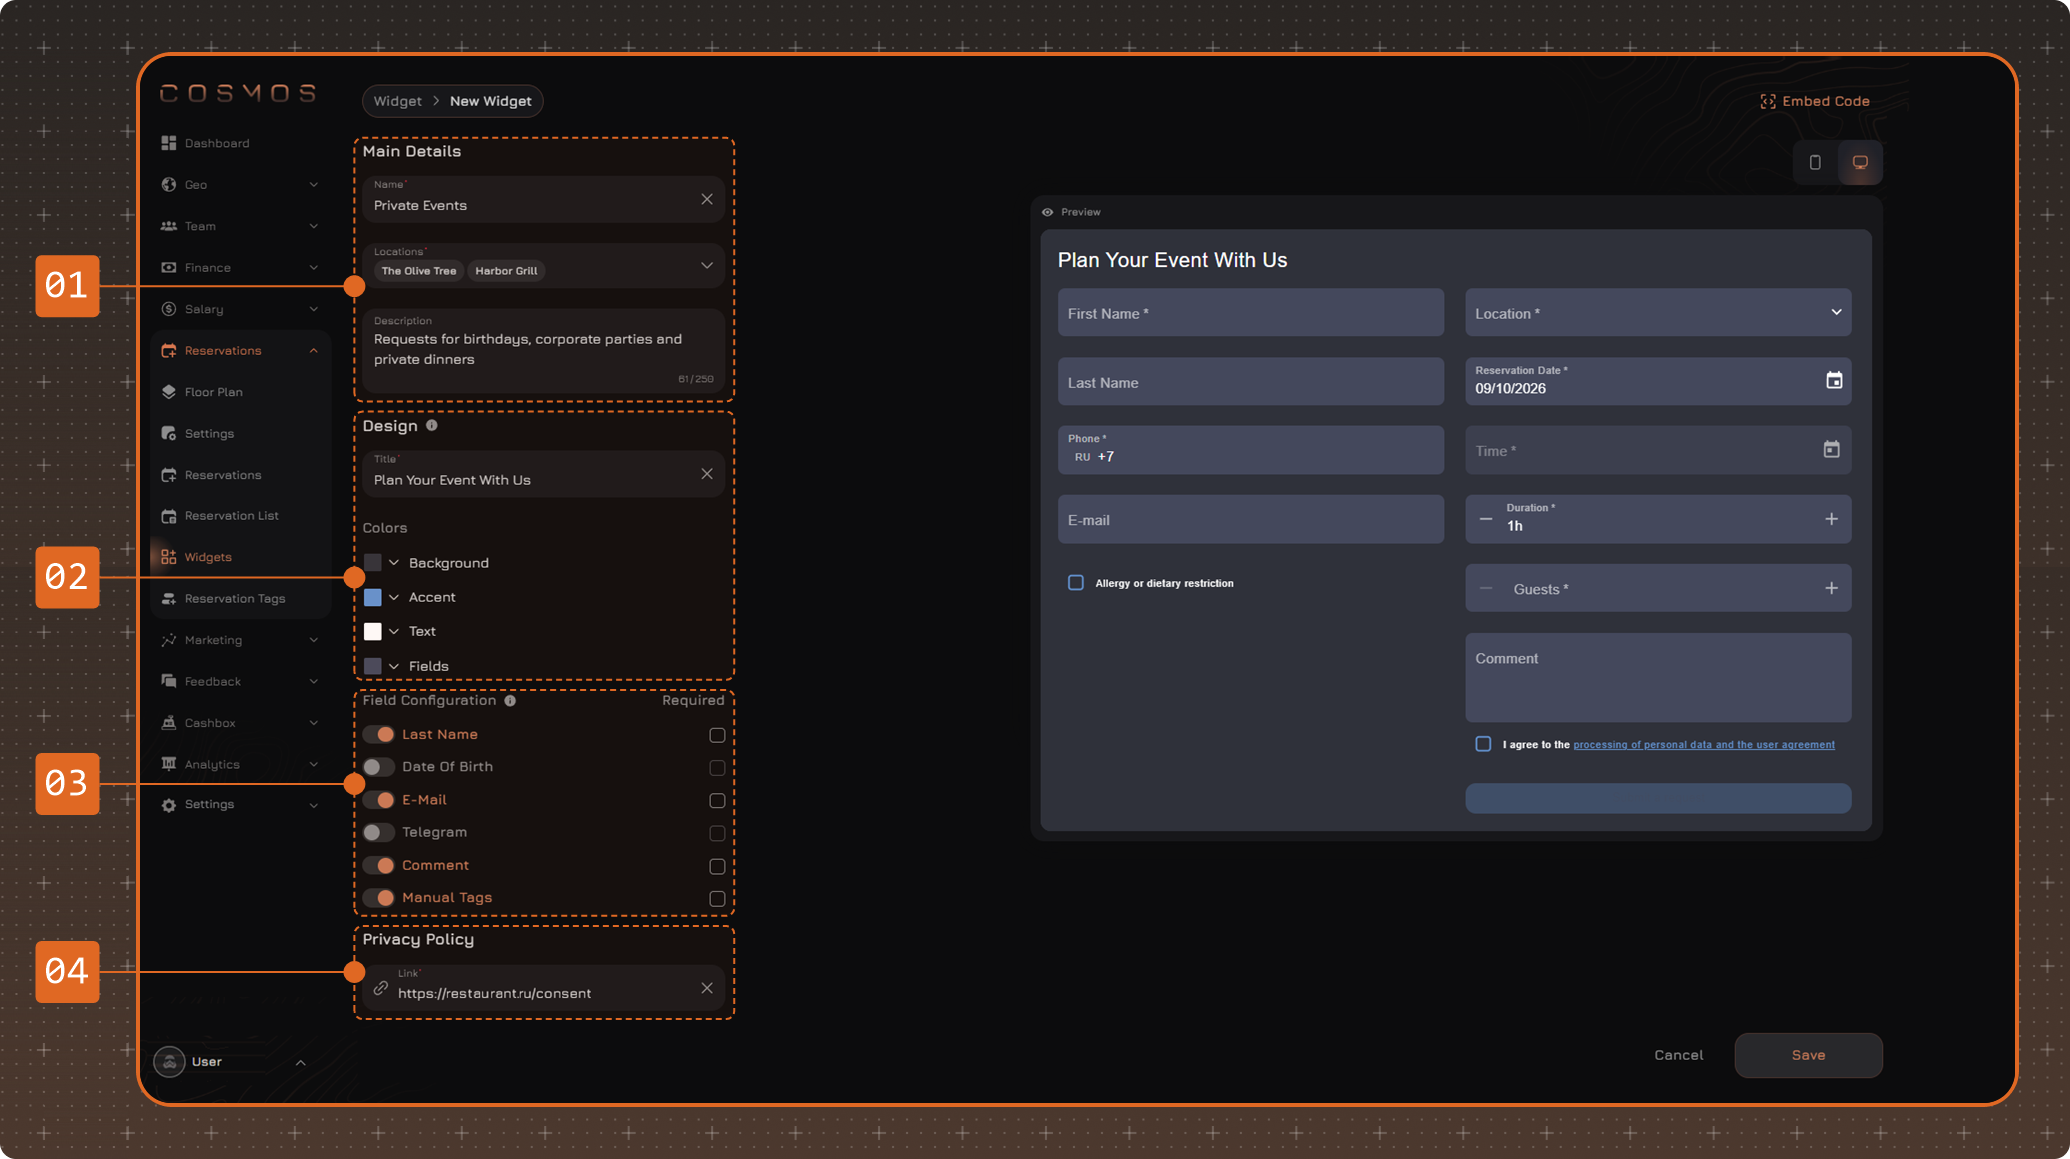
1. Main Details
- Name — the widget name in the system. It is shown in the widget list and at the top of the widget page. Guests do not see it.
- Locations — locations where guests can submit a request. You can select several.
- Description — an optional note for staff, up to 250 characters.
2. Design
- Title
- Background
- Accent
- Text
- Fields
3. Field Configuration
The following fields are always present in the form and are required:
- First Name
- Phone
- Location — not shown if the widget is linked to one location
- Reservation Date
- Time
- Duration
- Guests
- Consent to personal data processing
Additional fields are turned on with the toggle on the left. A check in the Required column makes the field required.
- Last Name
- Date of Birth
- Telegram
- Comment
- Manual Tags — manual tag groups the guest can select, for example allergies. Groups with Available in Reservation Widget enabled in their settings are shown, under the group's public name if it is specified. See Create and Edit Manual Tags for details.
4. Privacy Policy
Link — the address of the privacy policy page on the venue website. Required field.
Preview
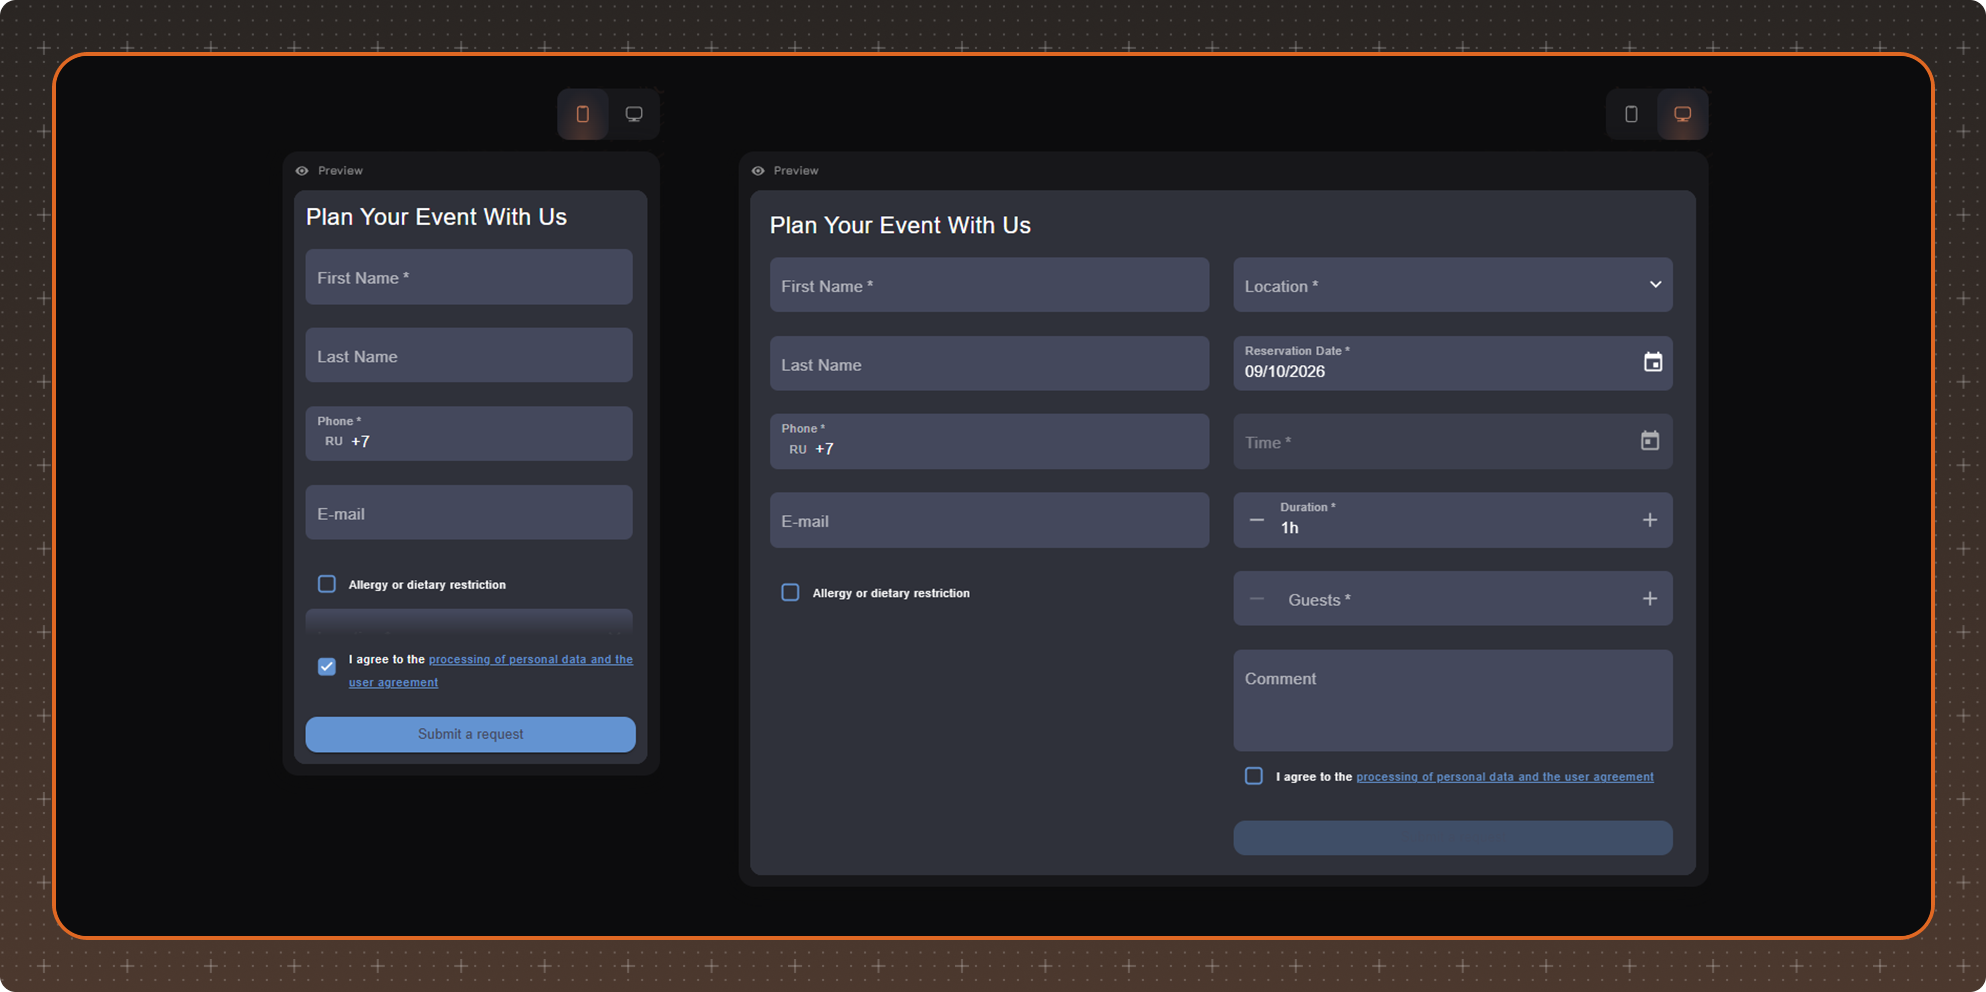
The Preview on the right shows changes immediately. The buttons above it switch between the phone and desktop views of the form. Field validation works in the preview when you click Submit a request.
Adding to a Website
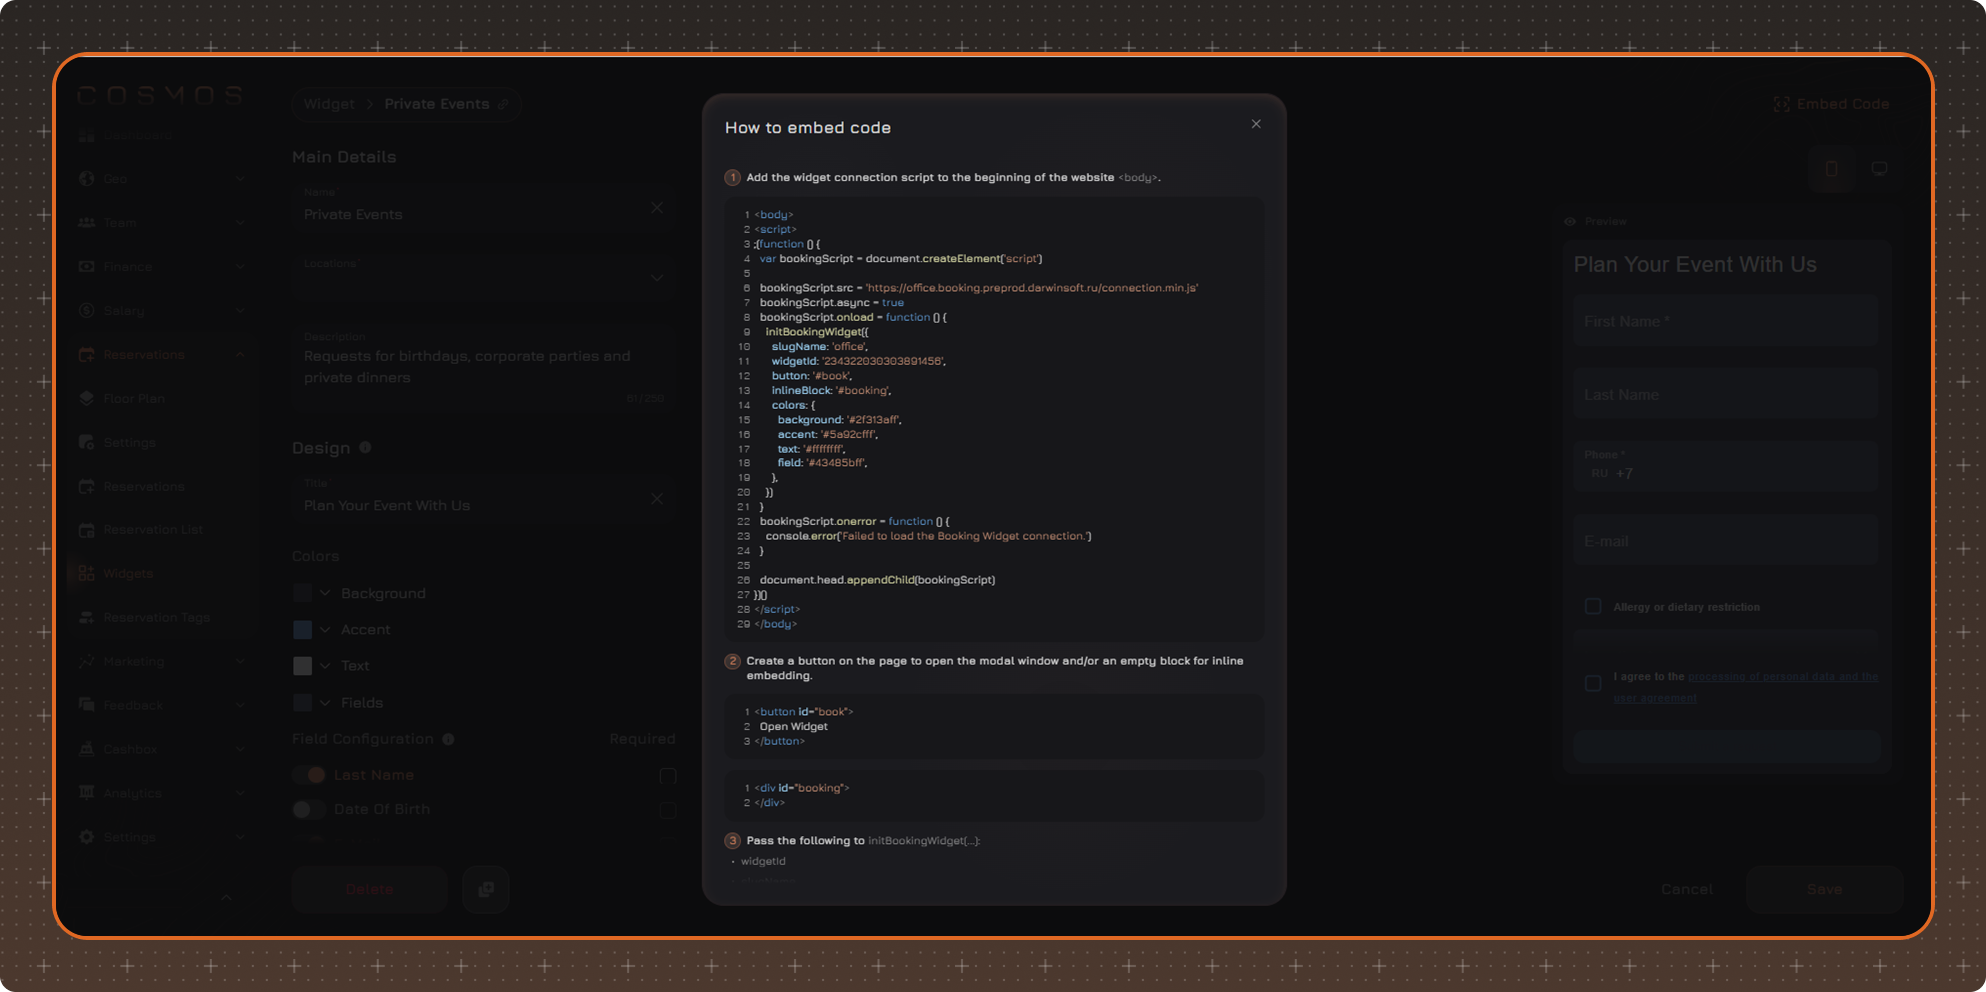
The Embed Code button appears in the upper right corner of the widget page after the widget is saved. It opens the How to embed code window with ready-made code and connection steps:
- The connection script is added to the beginning of the website's
<body>. - A button that opens the widget in a modal window and/or an empty block where the form is shown directly on the page is created on the page.
- The widget parameters are passed to
initBookingWidget(...).
Both options can be used on the same website. It is enough to pass the contents of the window to the website developer.
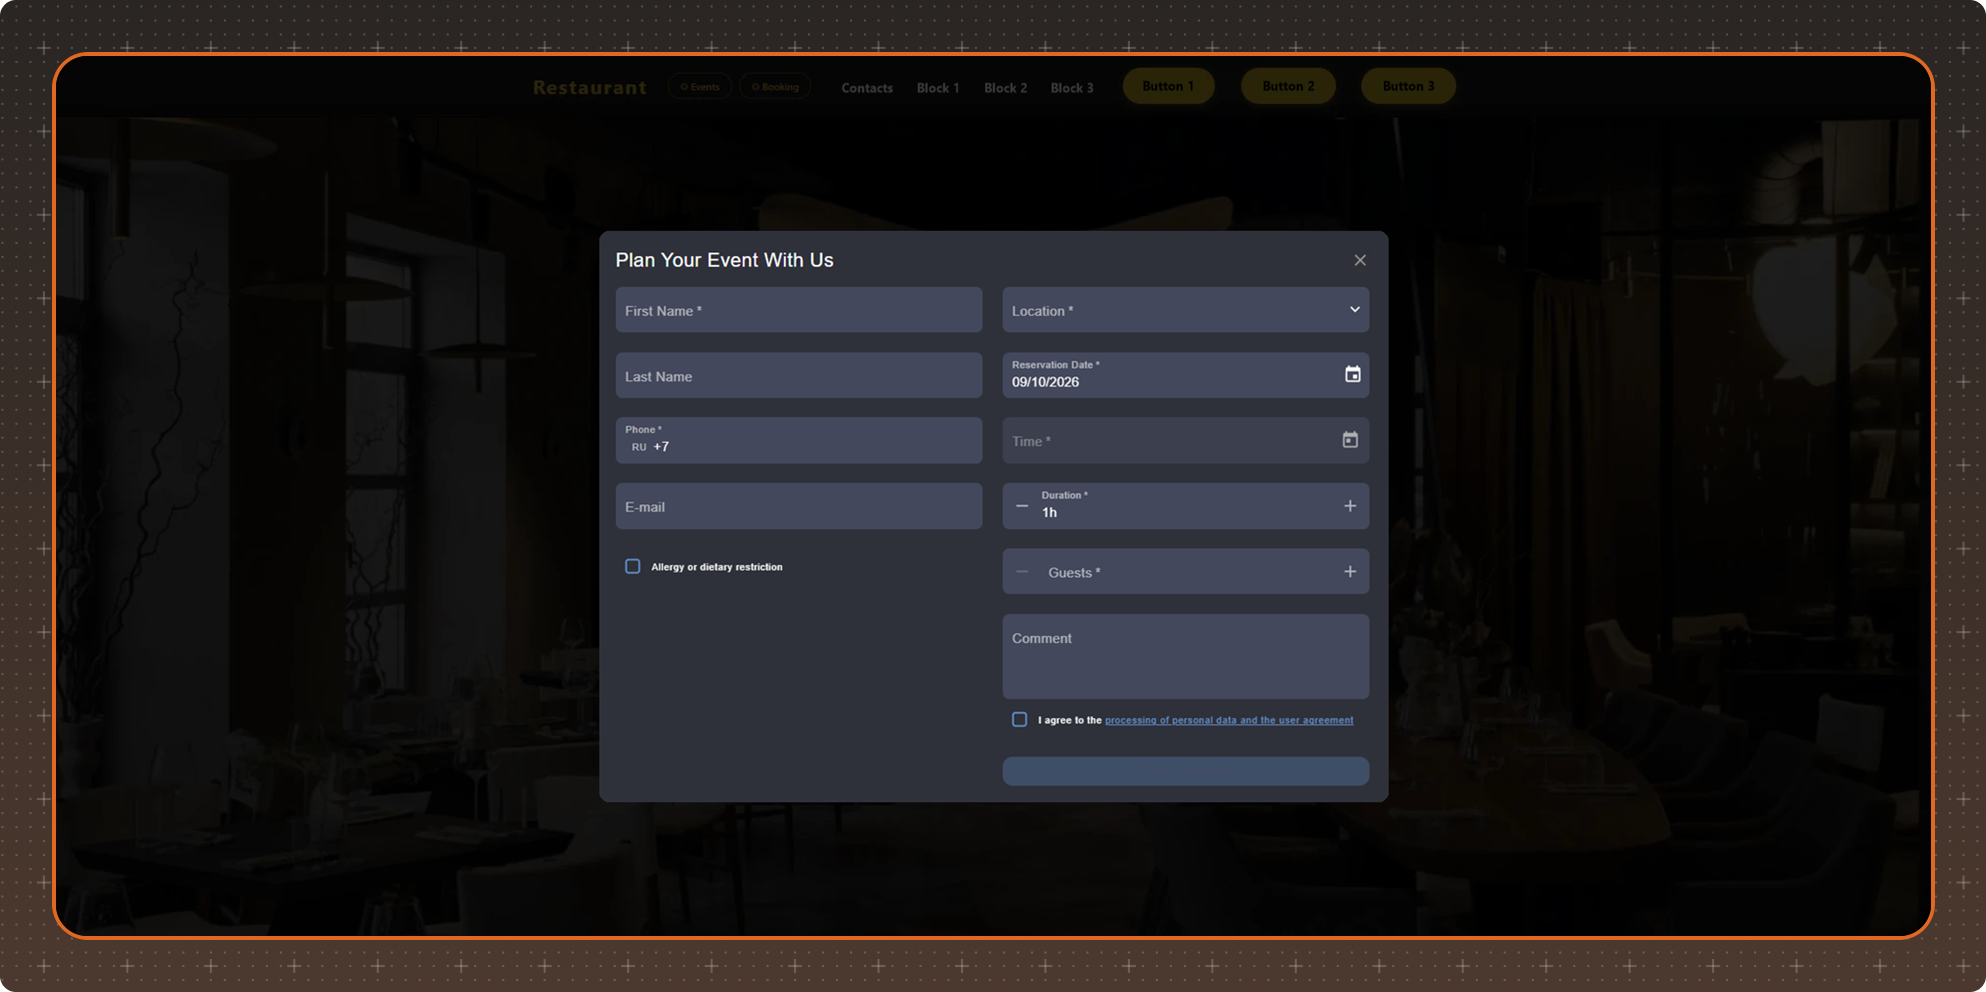
This is how the widget looks on the venue website:
Editing, Duplicating and Deleting
To edit a widget, open it from the list, make changes and click Save.
The duplicate button next to Delete creates a full copy of the widget. Make the necessary changes to the copy and save it — this creates a new widget.
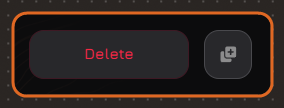
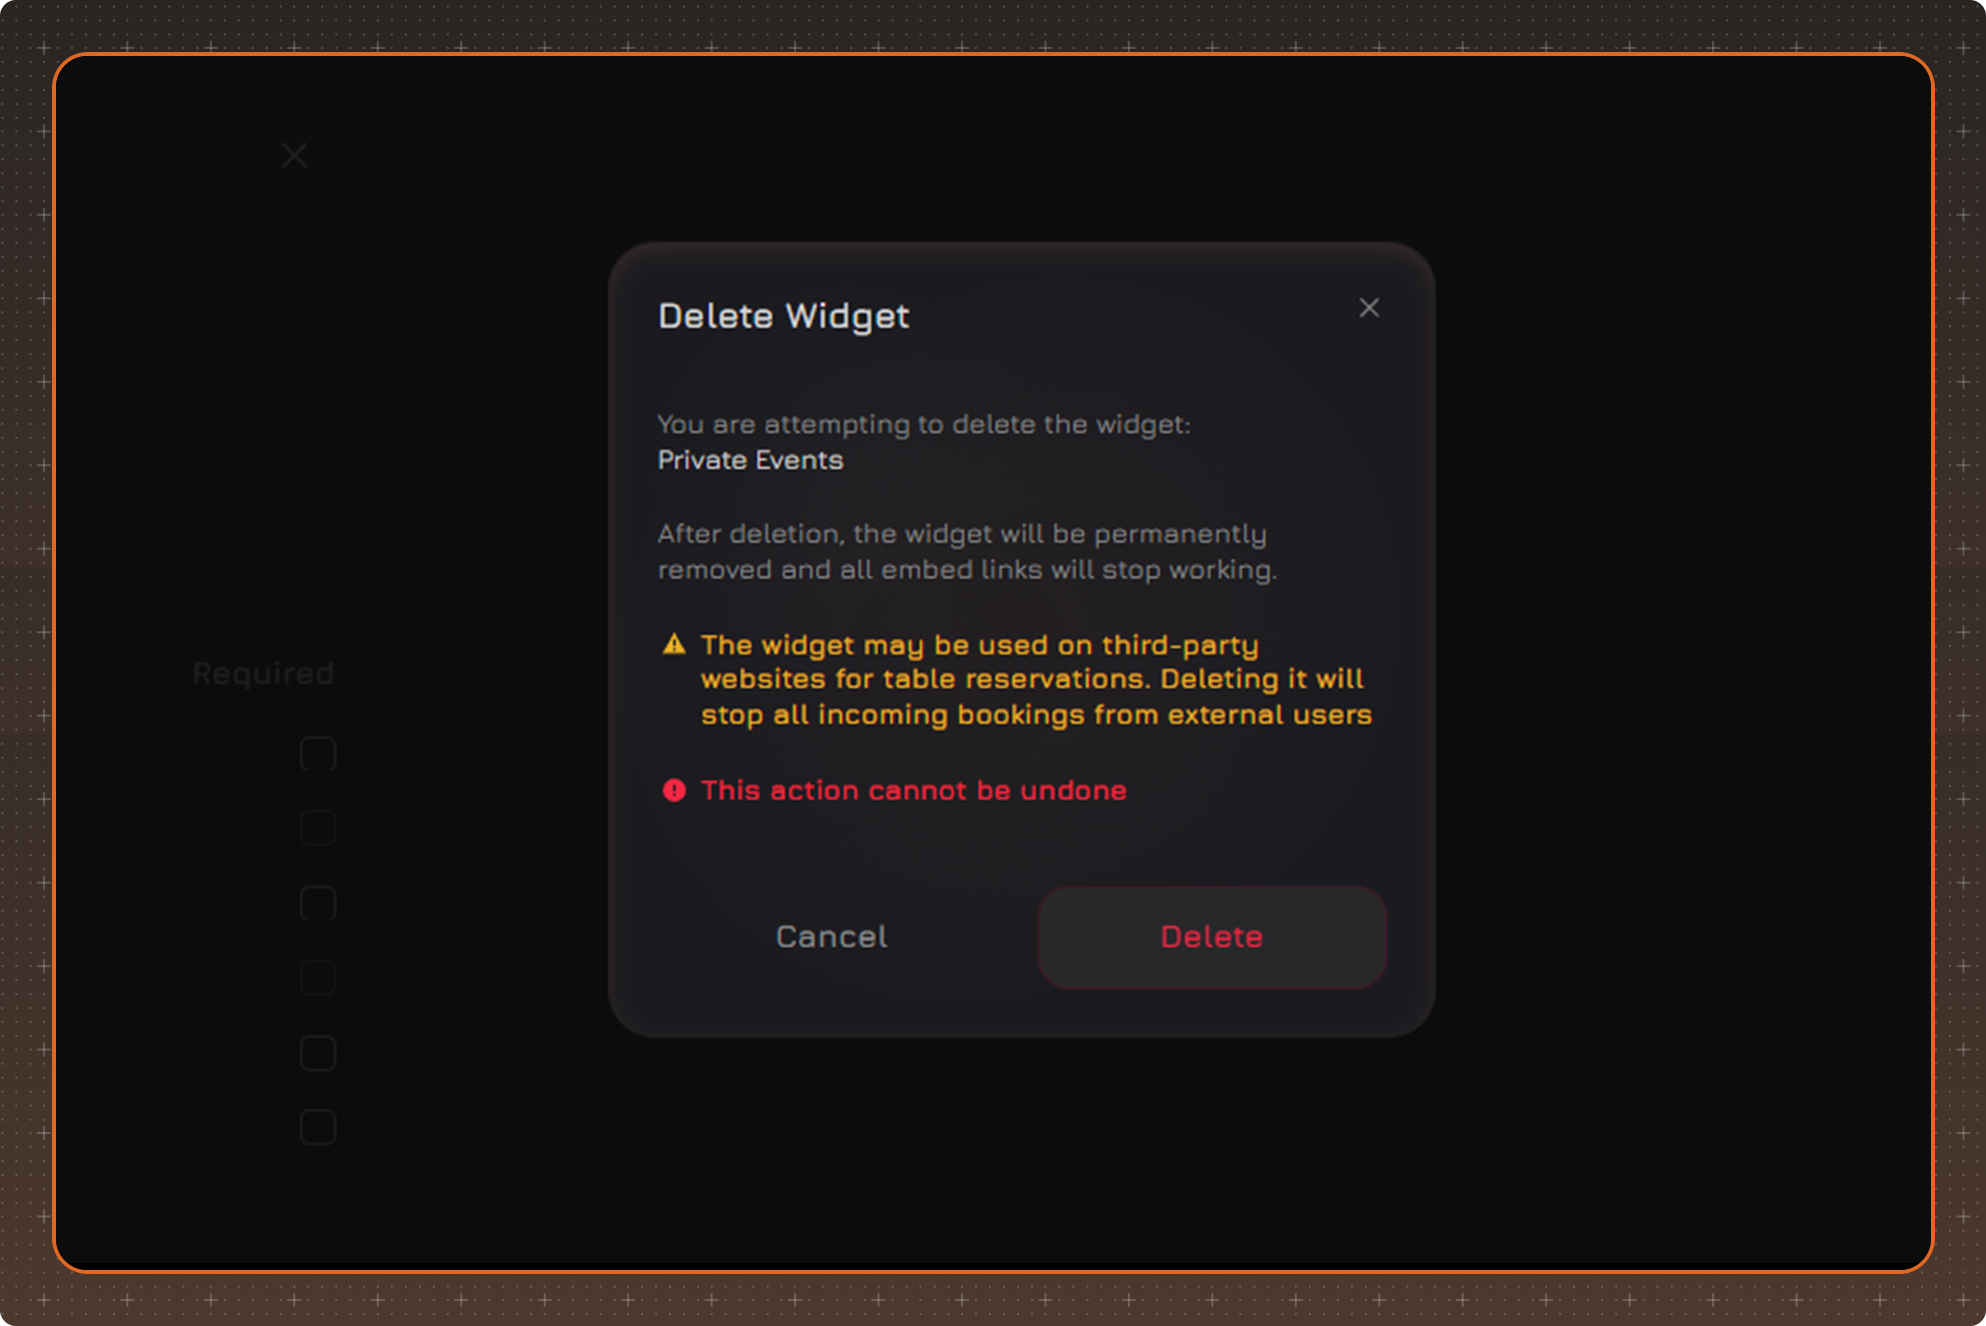
When deleting, the Delete Widget window appears. The widget is deleted permanently: the code on websites stops working, and requests through this widget no longer arrive.
When saving changes, the Apply changes window appears. After editing, the code placed on websites may become outdated — update it on all websites where the widget is installed. This action cannot be undone.